


Easy Makeup For Beginners: A Foolproof Guide That Won’t Let you Down
5 minuteRead
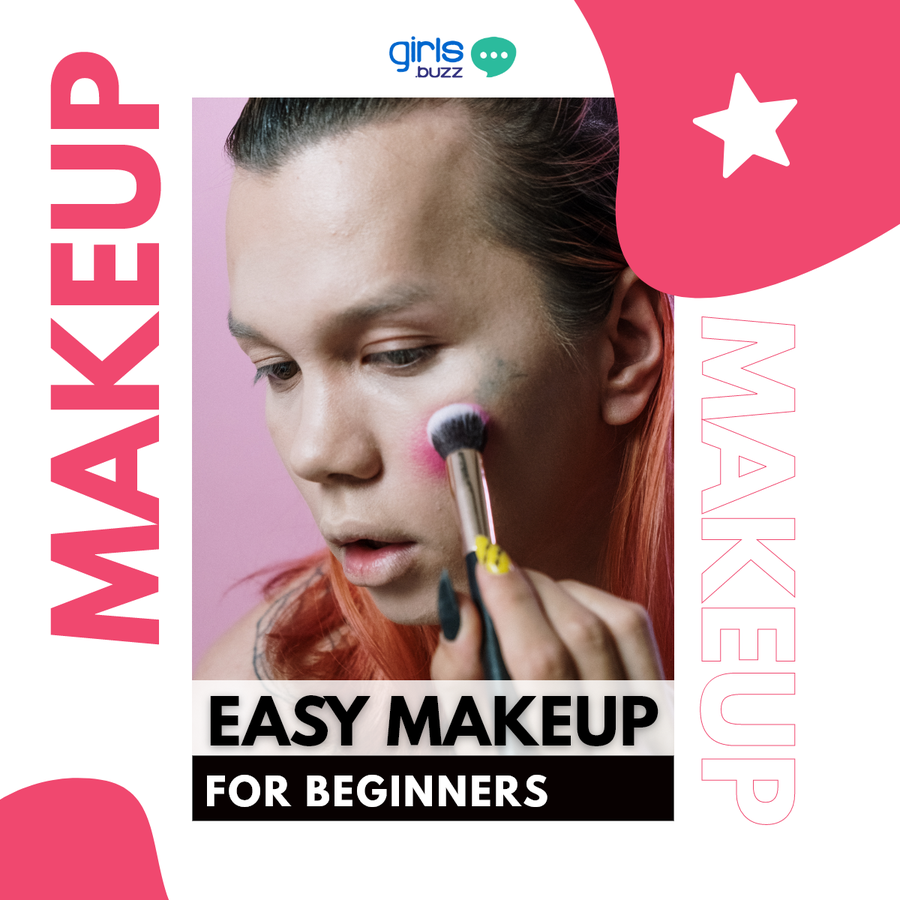
You could watch videos of influencers doing their makeup with a peppy pop song playing in the background for hours on end and still have no idea what to do with yourself if someone handed you a blending brush. And if you’ve ever found yourself buying a whole bunch of beauty products on a shopping spree and sitting down to do your makeup only to end up looking nothing like what you’d envisioned in your mind - we feel you. Although extremely fun and empowering, knowing your way around makeup can take time, patience, and practice. This can make things intimidating for beginners and leave them reluctant to go anywhere near their makeup kit. But that doesn’t mean you have to step out looking any less than impeccable. We’ve got an easy, step-by-step guide for you to follow that will help you navigate the complex waters of makeup with ease.
Step 1: Cleanse And Moisturize

There’s no substitute for healthy skin. Makeup also sits a lot better if the true foundation, i.e. your skin, is at its best. So give it some love and care with your skincare routine - starting with a facial cleanser and then following it up with a serum, moisturizer, and sunscreen. Then you’re ready to get into the more exciting stuff.
Step 2: Apply A Primer
Regardless of how expensive your makeup or good your skills, without a good base you always risk your final look being too cakey or messy. Using a primer will help you avoid that. It provides a base for products to grip and helps them last longer. Be sure to pick up a primer that’s suited to your skin type. For instance, if you have dry skin, go for a product that will give you a glowing finish and if you’ve oily skin, reach for something more mattifying.
Step 3: Colour Correct
This part is key to ensuring your final look is flawless is to cover up anything that you’d like to keep from showing up in the end. We’re talking under-eye circles, redness, or a pesky pimple. Use a colour correcting concealer and bear in mind that colours that are opposite of one another on the colour wheel cancel each other out. So to cancel out red zits, pick up a green concealer. Meanwhile, purple minimizes yellow spots while orange takes care of blue dark circles. Blend a small amount of the concealer into the specific parts of the skin using your ring finger and you’re done.
Step 4: Apply Foundation
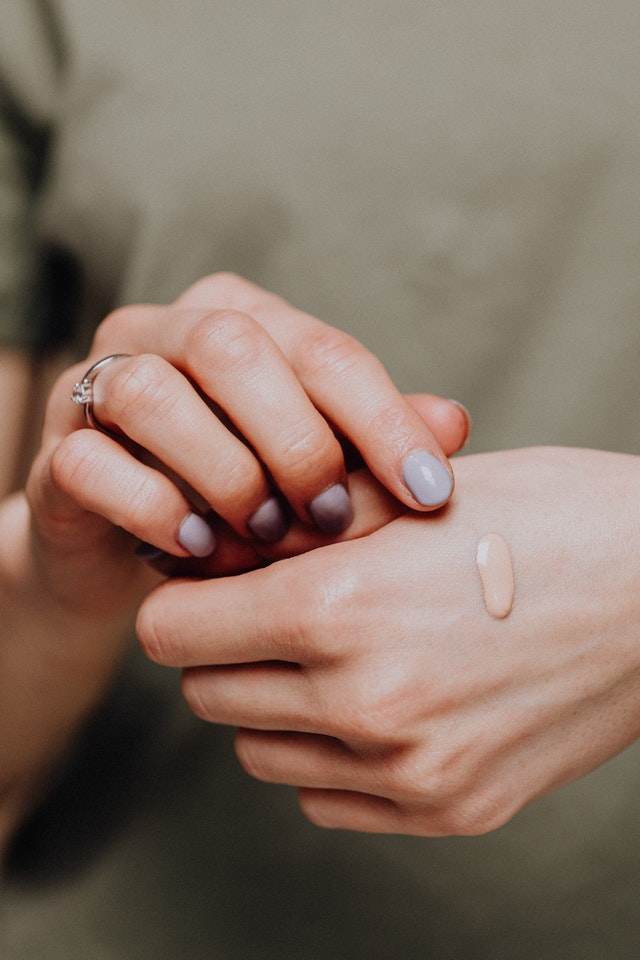
Perhaps one of the only parts of makeup that shouldn’t be popping, you want your foundation to look like second skin. Be sure to use a formula that suits your skin tone and type. If you struggle with acne (and who doesn’t?) then pick one that tackles zits while giving you good coverage. We recommend a waterproof and sweatproof formula that will stay on through the day and will hold well under touch-ups. Use a damp blender and brush the foundation into your skin to get an even, natural-looking finish.
Step 5: Contour
With an even base in place, you’re now ready to add dimension and definition to your face by chiseling out your cheekbones and jawline. Pick a shade that is 2 times darker than your skin tone and has the right undertone - warm, cool, or a mixture of the two (neutral). If you can take a look at your veins, you’ll get a fair idea of your undertone without having to consult the salesperson at the store. If your veins look greenish, you may have warm undertones and if they look blue or purple-ish, then you have cooler undertones. Then grab an angled brush, suck in your cheeks, and buff the darkest powder into the hollows using swift back and forth motions. To define your jawline and slim down your neck, brush the powder along the length of your jaw and around your chin while ensuring you’re blending downwards using swift motions.
Step 6: Highlight
Add a glow to your skin or a rosy hue with a bronzer, blush, and/or highlighter. When it comes to a bronzer, tap a brush in the bronzer and sweep it along the areas where the sun naturally hits your face (such as your forehead, nose, cheeks, and chin). Use a fluffy brush to apply the blush to the apples of your cheeks and be sure to smile as you do this for a pop of colour. Get a bit of highlighter on your fingertip and dab a little on the tip of your nose, on the inner corners of your eyes, above your cupid’s brow, and above your cheekbones.
Step 7: Define Your Eyes

Grab your eyebrow pencil, eye shadow, and mascara, and get to work on your eyes. Define and sculpt your eyebrows using a brow pencil and softly fill in any sparse areas using short, dash-like strokes to mimic your natural hair. Then proceed to add colour to your lids by dusting some onto them using an eye shadow brush and then following it up by colouring the crease of your lids. Lastly, line your eyes with a waterproof liner, staying close to your waterline for added definition. Drab on some mascara for bold lashes and wiggle your brush as you reach the tips of your eyelashes for an even, non-lumpy finish.
Step 8: Brighten Your Lips

Time to add a pop of colour to your lips with a swipe of your favourite shade. Use a lip liner to gently line your lips to keep the colour from bleeding, which happens when your lipstick runs outside your lip lines. Be sure to match the shade of your lip liner and lipstick to ensure that your pout is popping.
Step 9: Set Things In Place
After your hard work, ensure your makeup stays in place by spritzing a setting spray -=['onto it. Keep the bottle 8 inches away from your face, close your lids, and spray a few times until you’ve covered everything. Now you’re ready to head out!
And there you have it, an easy guide to help you achieve a basic yet flawless look that won’t fail you. Be sure to keep pampering your skin and giving it all the love that you can while you’re home to help it heal from all that colour and definition.
 Eshita Srinivas
Eshita spends most of her day writing, rewriting, and thinking of things to write about. Sometimes you might catch her reading a swoon-worthy romance novel, busting a move, singing her lungs out, or learning how to throw the perfect lead hook.
FOLLOW + MORE BY AUTHOR


Write, Record and Answer! Consume Unlimited Content! All you need to do is sign in and its absolutely free!
Continue with one click!!By signing up, you agree to our Terms and Conditions and Privacy Policy.