


Chicken Biryani Recipe - Delhi Style Biryani At Home
7 minuteRead
Chicken Biryani Recipe may seem something that chefs and street vendors can cook. However, once you get to know this recipe, you'll realize that it is not a big deal. So, here is all you need to know about making Biryani at home. Enjoy!
Have you ever been to Old Delhi? If you've been there you'll know about the shops with big Handis loaded with flavorful and mouth-watering chicken biryani. That’s the point where every non-vegetarian loses control, no matter how serious one is about their diet.
We have always been to these shops or restaurants ordering biryanis and right after the first bite, there is always that ‘Ahhaa’ sound that comes out of our mouths. Trust me, even talking about this makes my mouth water.
Have you ever wondered how these street chefs make biryani with perfection? Well, the secret is, there is no secret. This is just the game of the right amount of spices, taking note of the time, and understanding how chicken works while cooking.
So, here is a detailed recipe that gives you the authentic home-like flavor. Ready to start cooking Chicken Biryani or should I say Chicken Dum Biryani?
Let’s begin.
Why chicken biryani?
Even though biryani has a Persian origin, it is now a delicacy of India that no one can get tired of. You will often find biryani being served in every corner of India, be it in the street markets or big hotel chains. Still, the question is, why is biryani so special?
Yes, there are flavors that compare to nothing in this world and, not to mention, the fragrance that attracts you from the corner of the street. However, apart from spices, do you consider the variety it is available in? There is beef, mutton, veg (although most people don't consider it as biryani :P), egg, and chicken biryani. Moreover, it is high in nutrition and the cooking style is just breathtaking.
Not many people know this but in the old days, biryani used to be a royal food served in royal feasts. That means, its flavors are all conserved for the kings and elite rich families. However, that day biryani used to have pricey saffron water, loads of nuts and dry fruits, and many other expensive ingredients in it.
Today, it is still counted as a special thing, no matter if you order it from Swiggy/Zomato or cook at home. Nonetheless, the ingredients have changed, the cooking style has changed, and the ways of coming up with the best recipe have changed.
So, right now, we have one simple recipe that no intermediate cook can screw up.
Without any further ado, let's jump right into the recipe.
Ingredients
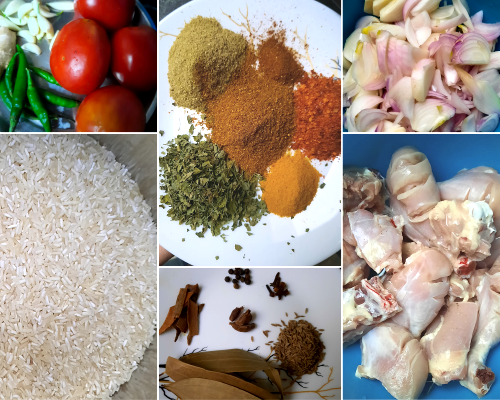
- 750gm chicken
- 4 bowl (Katori) basmati rice.
- 4 tablespoon curd
- Half lemon juice
- 1 tablespoon Kasuri Methi
- 7-8 medium size onion
- 2 tomatoes (optional)
- 1 tablespoon ginger-garlic paste
- 4-5 green chili (paste)
- 1 tablespoon biryani masala
- 1 tablespoon coriander powder
- 2 teaspoon garam masala
- 2 teaspoon red chili powder
- 1 teaspoon turmeric
- 8 black pepper
- 4 cloves
- 2-3 brown cardamom
- 2 cinnamon sticks
- 1 tablespoon jeera (cumin)
- 2-3 bay leaves
- 2 spoon ghee
- A handful of fresh coriander
- Salt to taste
- Oil as required.
Preparation
Let’s begin with the preparation of ingredients in the right way to use them.
- First, peel the onions and finely chop one of them. This step is optional because we need it to cook chicken separately.
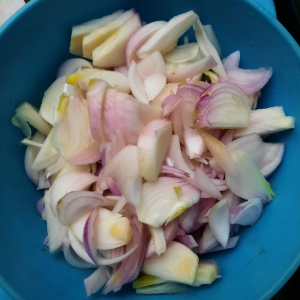
- The rest of the onion, slice into thin chunks as shown in the image above.
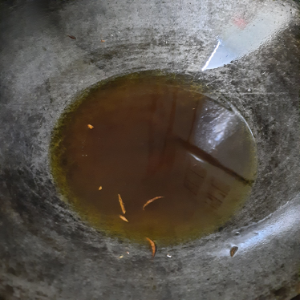
- In a pan, take some oil, and heat it properly.
- On a medium flame, fry these onions until they turn golden brown. Like this:
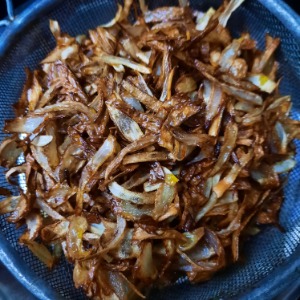
- If you are out of ginger-garlic paste, peel about 8 cloves of garlic and 1 inch of ginger and make a paste, Also add green chilies in it because we need that paste too.
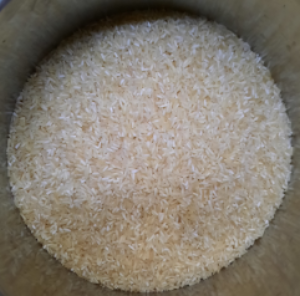
- For rice, wash them nicely and drain the excess water. Repeat the process 3-4 times until the water becomes clear.
- Cover the rice with water and let it soak for an hour.
Begin with marination
- To marinate chicken, you must take a big bowl for proper mixing.
- So transfer your chicken to the bowl.
- On the chicken, add the curd, a handful of fried onion, and Kasuri methi.
- Now, add your ginger-garlic and chili paste.
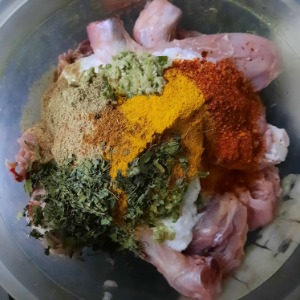
- Along with it goes dry spices like coriander powder, biryani masala, turmeric, red chili powder, garam masala, and don’t forget to add salt.
- Mix them all together with your hands and cover the bowl with a lid or plastic wrap.
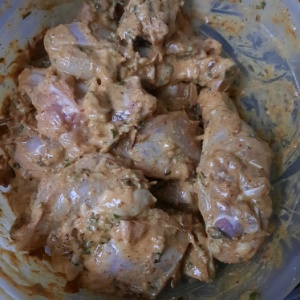
- Leave this marination for about an hour.
Prepare the rice
- For biryani, rice is cooked separately. So, for this, you must need a big container.

- Fill it half with water and let it boil completely.
- Now, if you want, you can add all the solid spices directly like Bay leaves, cumin seeds, black cardamom, cloves, black pepper.
- What I have done is in a cotton white cloth, I have added all the spices which I don’t want in my biryani. So, here is the cotton cloth, and in goes cardamom, pepper, cloves.
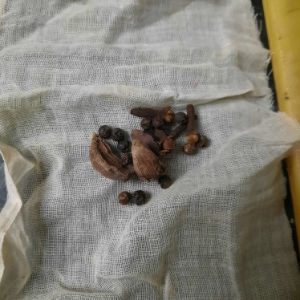
- Tie knots on the corners of the cloth and make a small bundle/pouch out of it. Drop it in the boiling water. This will help all the flavors to release in the boiling water.
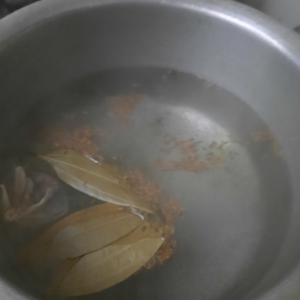
- Also, add enough salt and 1 tablespoon ghee.
- Now, add soaked rice to it and let it boil.
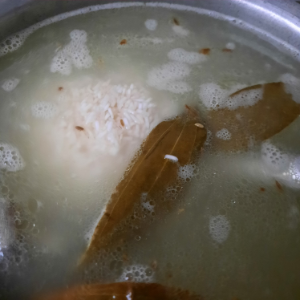
- Cook it just 90% which is to the stage until it becomes a bit soft.
- Turn off the gas and drain all the access water.
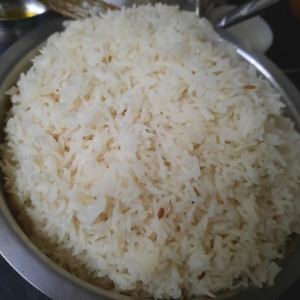
There you have your flavored basmati rice.
Cook the chicken
Just like the rice, we will cook chicken separately too. That too partially. So, be careful.
- In a pan, add about 4 tablespoons of oil. Let it heat up.
- Once the oil is done, add your chopped onion, mix and cook until it turns golden brown.
- Now add tomato puree to it or if you want, you can add finely chopped tomatoes.
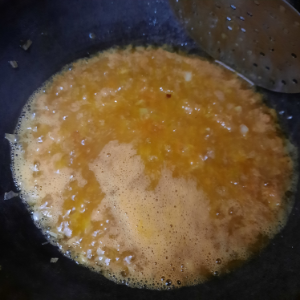
- Add a pinch of salt and cook till it starts losing oil.
- Once done, add all your marinated chicken along with the masala.
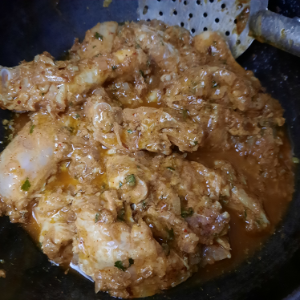
- Mix everything well and cook it for about 15-20 minutes.
- Keep in mind, you don’t want to cook the chicken completely. Just to the point when the flesh starts losing the bone.
- Don’t forget to mix in between so that it doesn’t stick to the bottom.
- The chicken will start releasing water but that’s okay, you don’t want dry chicken.
- Once you reach the stage where the oil is separated and the chicken starts losing its bone, turn ofs the flame and leave it.
The dum preparation
This one is the fun step. All you gotta do is do the layering just the way you see in all the Instagram stories and reels.
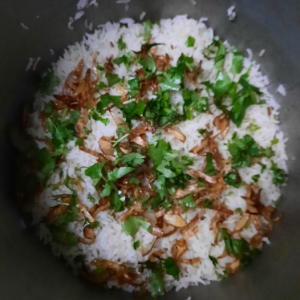
- So, in a big container, add a thick layer of cooked rice.
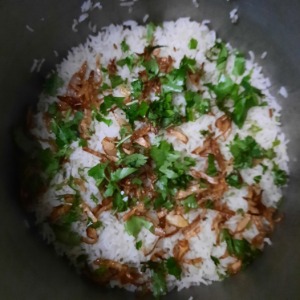
- Above it, sprinkle some fried onion and chopped coriander leaves.
- Over it goes cooked chicken. Add just about 3-4 pieces and a bit of gravy.
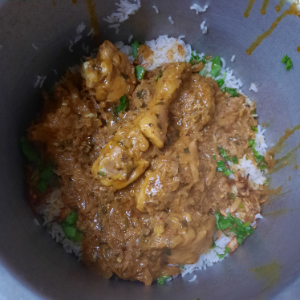
- On top of it, add a thick layer of rice, coriander, fried onion, and then chicken.
- Repeat the process until everything goes on.
- On the topmost layer, put the rice, sprinkle some coriander, fried onion, and all the gravy. If you want, you can add some Kesar water for the color and fragrance.
- Now, cover up a lid.
Here is the trick, dum is all about allowing the food to cook in its own heat. This way, you don’t need excess water just steam that is full of flavors.
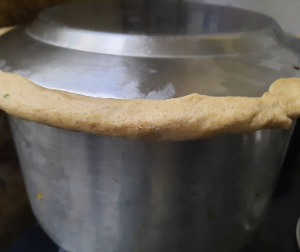
- Now, take some dough & shape it like long cylinders just like you use for your clay.
- As you cover the lid, stick that dough on the sides in a way that it seals all the sides.
- Once done, place it on the stove and cook it on a low flame for about 30 minutes.
- This is the part where all the flavor of biryani comes in.
- If the dough you used for sealing is somehow dried completely, that’s your indication that the food inside is ready to consume.
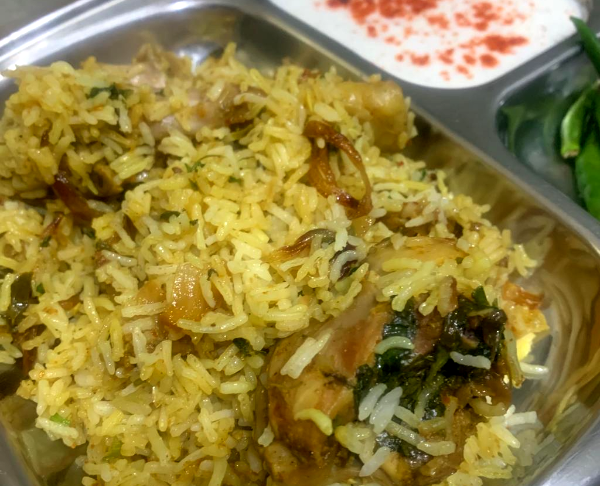
- So, take the lid off and the biryani is ready to eat.
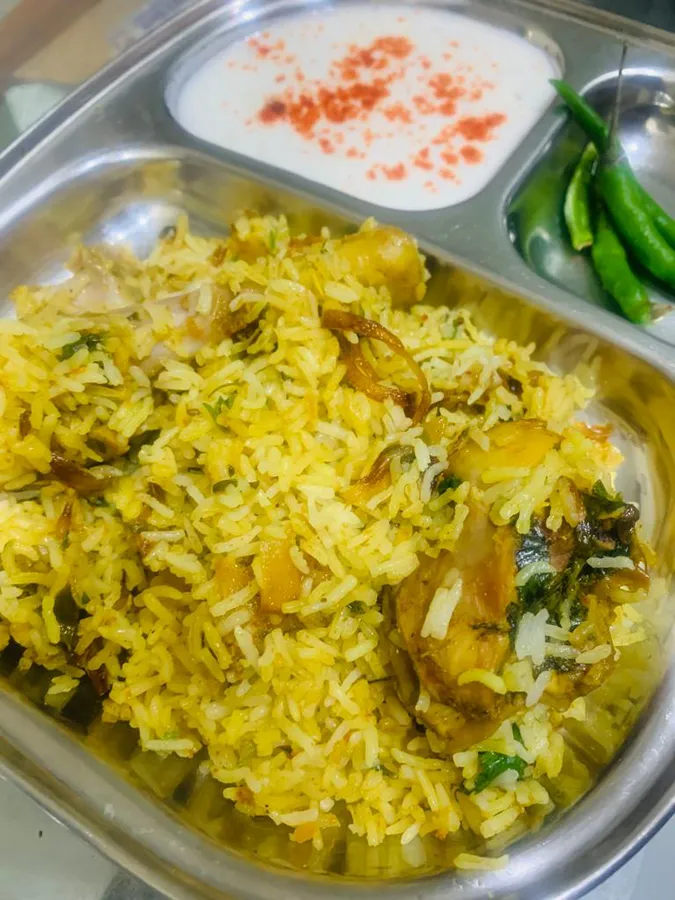
How to serve biryani?
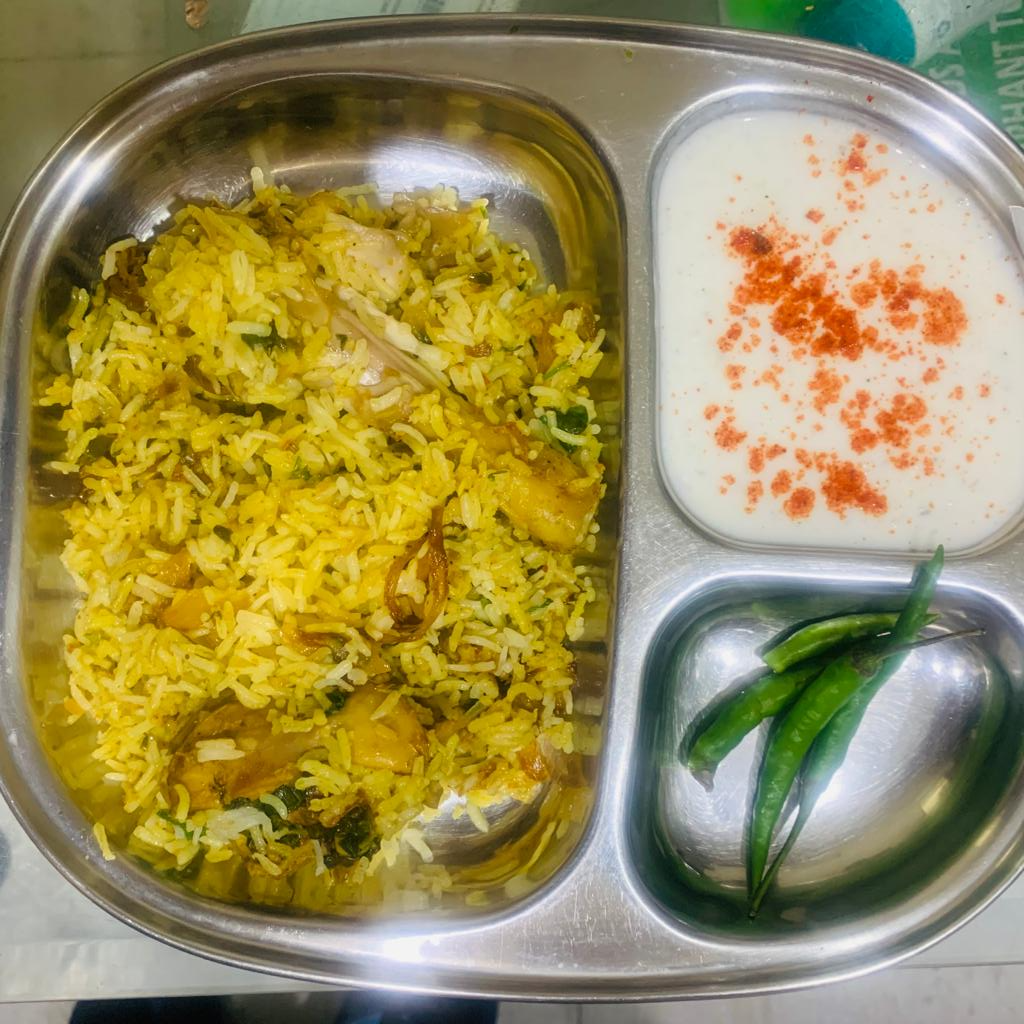
Normally, biryani doesn’t need a companion. However, it is better to serve with one or two. So, with biryani goes salad sprinkled with lemon juice and chaat masala. You can also have chicken gravy if you have extra.
However, there is one thing that goes with it the best and that is raita. Now, if you want that quick recipe too, you are in the right place.
The raita

For the raita, you need:
- 500 gm Curd
- 1 teaspoon roasted jeera powder
- 1 teaspoon salt (or as per taste)
- 1 grated onion
- 1 cucumber
- Red chili powder (if you want spicy).
For the procedure, follow these steps.

- Transfer the curd to a bowl and use a whisk or spoon to get rid of the lumps. It also brings out the smooth texture of the curd.
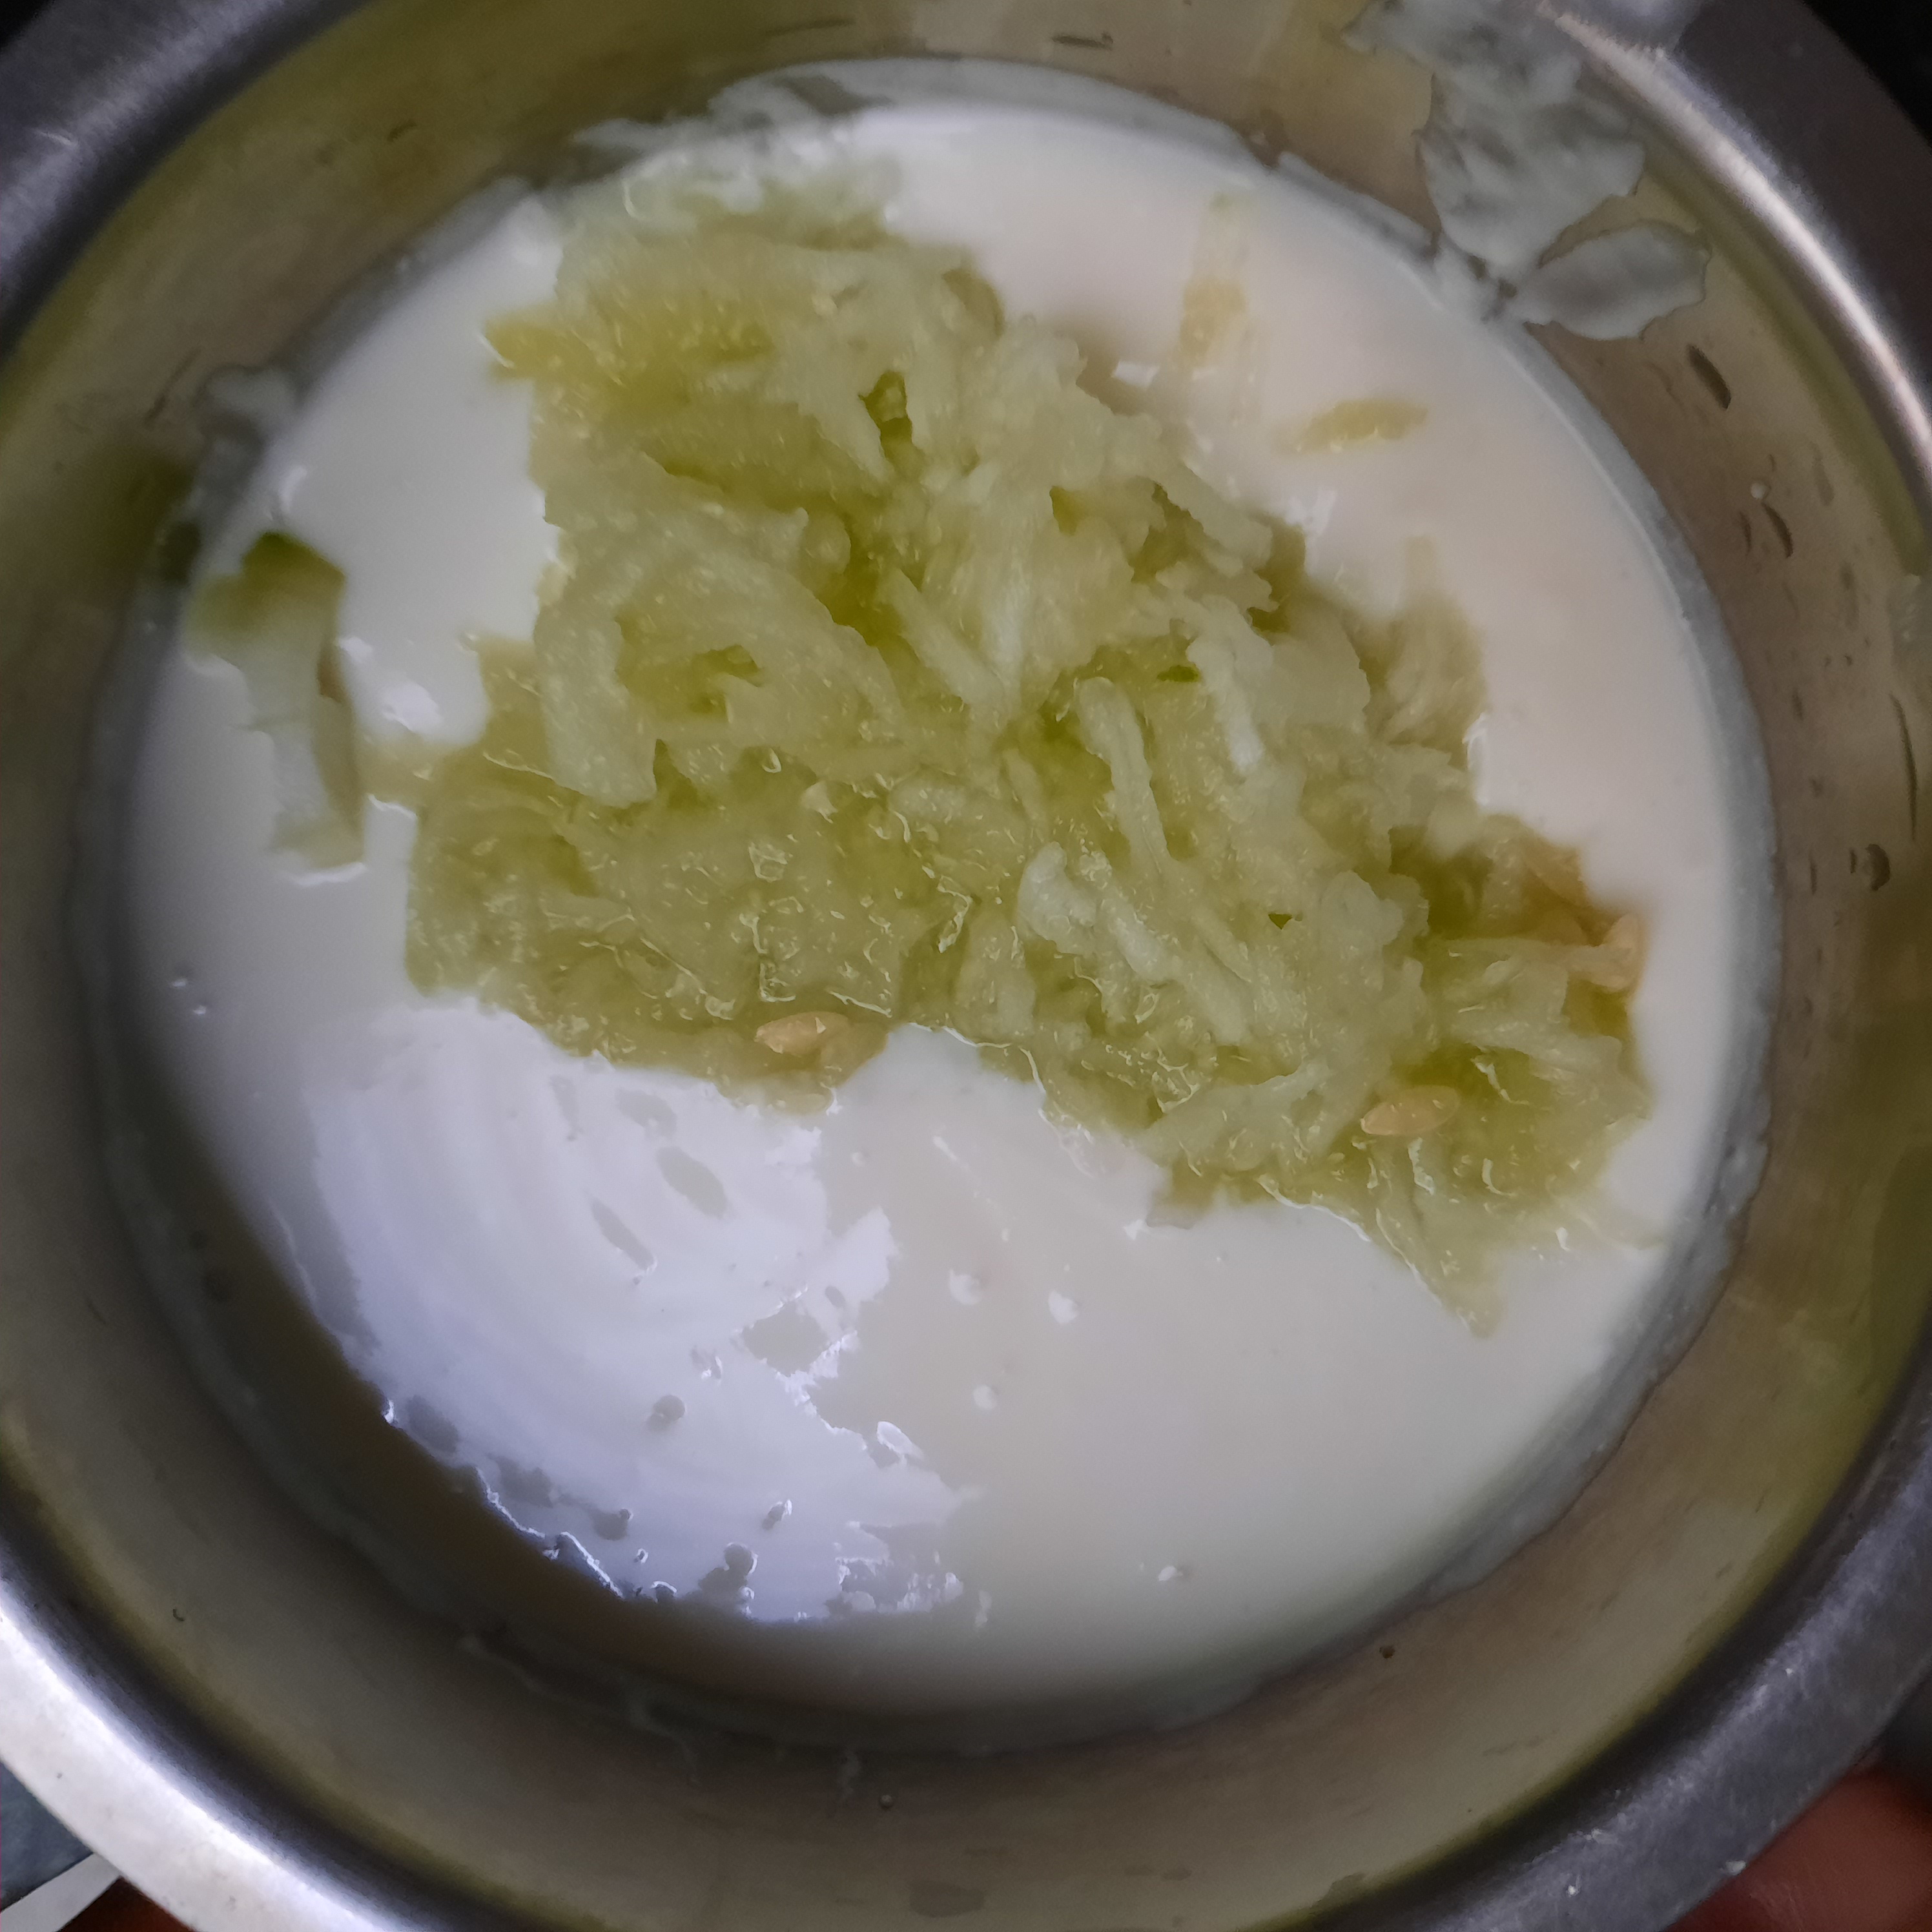
- Now, add grated onion and cucumber to it.
- Add salt and cumin powder and mix it again.
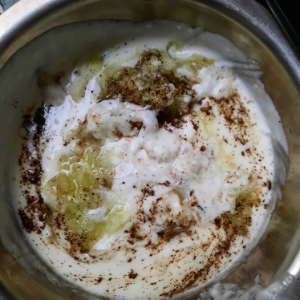
- If the raita seems too thick, you can always add water as per your requirement.
- That’s how you prepare your raita in no time.
Wrapping up
There you go. You have this wonderful, easy-to-cook chicken biryani recipe for you. Trust me, once you make it, there won’t be going back to the market-style biryani. So, what are you waiting for? Get all the right ingredients and start making biryani and impress your homies with the authentic homely taste.
 pariksha227
Hey there, I am a freelance writer who is great at writing blog posts. So, just for you, I am here with some awesome stories that I am going to share with you. Stay tuned because we are coming up with some exciting things to read and learn... :)
FOLLOW + MORE BY AUTHOR


Write, Record and Answer! Consume Unlimited Content! All you need to do is sign in and its absolutely free!
Continue with one click!!By signing up, you agree to our Terms and Conditions and Privacy Policy.